Image Resize vs Image Compress: Complete Guide, Differences, Benefits & Which One Should You Use?
Image Resize vs Image Compress is one of the most searched topics among bloggers, photographers, graphic designers, students, and website owners. Many people think both are the same, but they serve different purposes. If you upload images to a website, share photos on social media, or optimize images for faster loading, understanding the difference between image resizing and image compression is essential.
In this detailed guide, you’ll learn what image resize and image compress mean, their differences, advantages, use cases, and which option is best for your needs.
What is Image Resize?
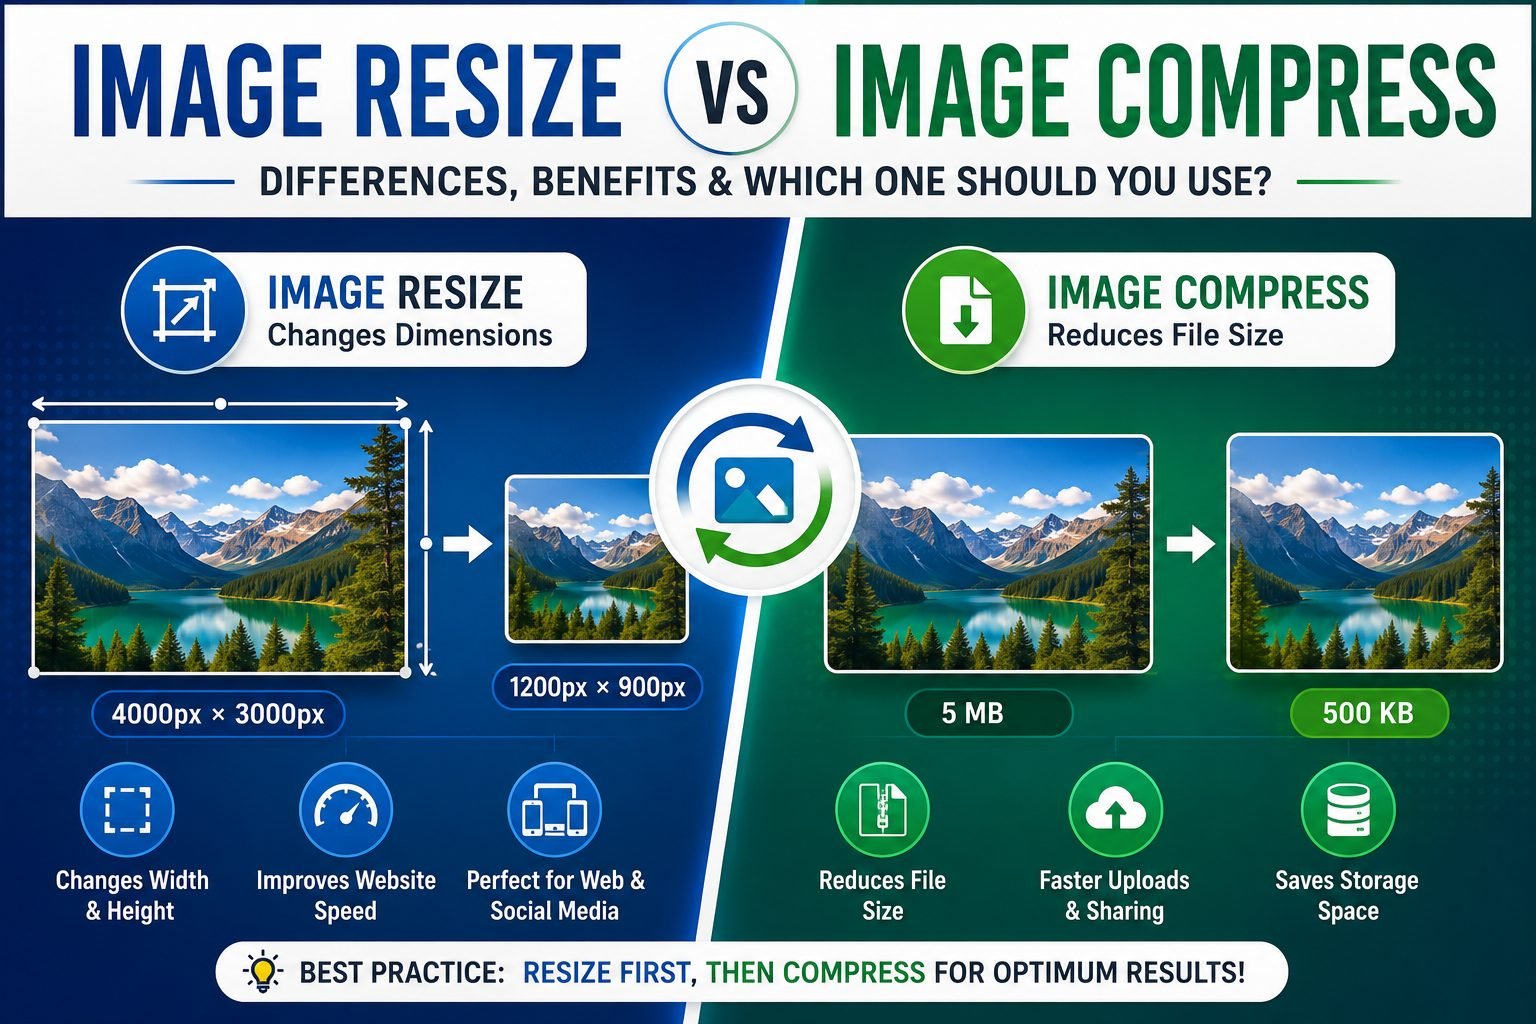
Image resizing is the process of changing the width and height (dimensions) of an image. When you resize an image, the number of pixels changes.
For example:
- Original Image: 4000 × 3000 pixels
- Resized Image: 1200 × 900 pixels
After resizing, the image becomes smaller in dimensions, which usually reduces the overall file size as well.
Benefits of Image Resize
- Reduces image dimensions.
- Makes images suitable for websites.
- Improves page loading speed.
- Saves storage space.
- Perfect for social media platforms.
- Required for passport-size and ID card photos.
- Helps meet upload size requirements.
What is Image Compress?
Image compression reduces the file size (KB or MB) without necessarily changing the image dimensions.
For example:
- Original Image: 5 MB
- Compressed Image: 500 KB
The image width and height remain the same, but unnecessary data is removed to make the file smaller.
Compression can be:
1. Lossy Compression
Some image quality is reduced to achieve a much smaller file size.
Examples:
- JPG
- WebP
2. Lossless Compression
The file size decreases while preserving almost all image quality.
Examples:
- PNG
- Lossless WebP
Image Resize vs Image Compress
| Feature | Image Resize | Image Compress |
|---|---|---|
| Changes Width & Height | ✅ Yes | ❌ No |
| Reduces File Size | Sometimes | ✅ Yes |
| Keeps Dimensions Same | ❌ No | ✅ Yes |
| Best for Website Images | ✅ Yes | ✅ Yes |
| Improves Loading Speed | ✅ Yes | ✅ Yes |
| Maintains Original Resolution | ❌ No | ✅ Usually |
| Suitable for Printing | Depends | Yes (if quality remains high) |
How Does Image Resize Work?
When an image is resized, the software removes or adds pixels.
Suppose an image is:
- Width: 4000 px
- Height: 3000 px
After resizing:
- Width: 1200 px
- Height: 900 px
The image becomes much smaller and loads faster on websites.
How Does Image Compression Work?
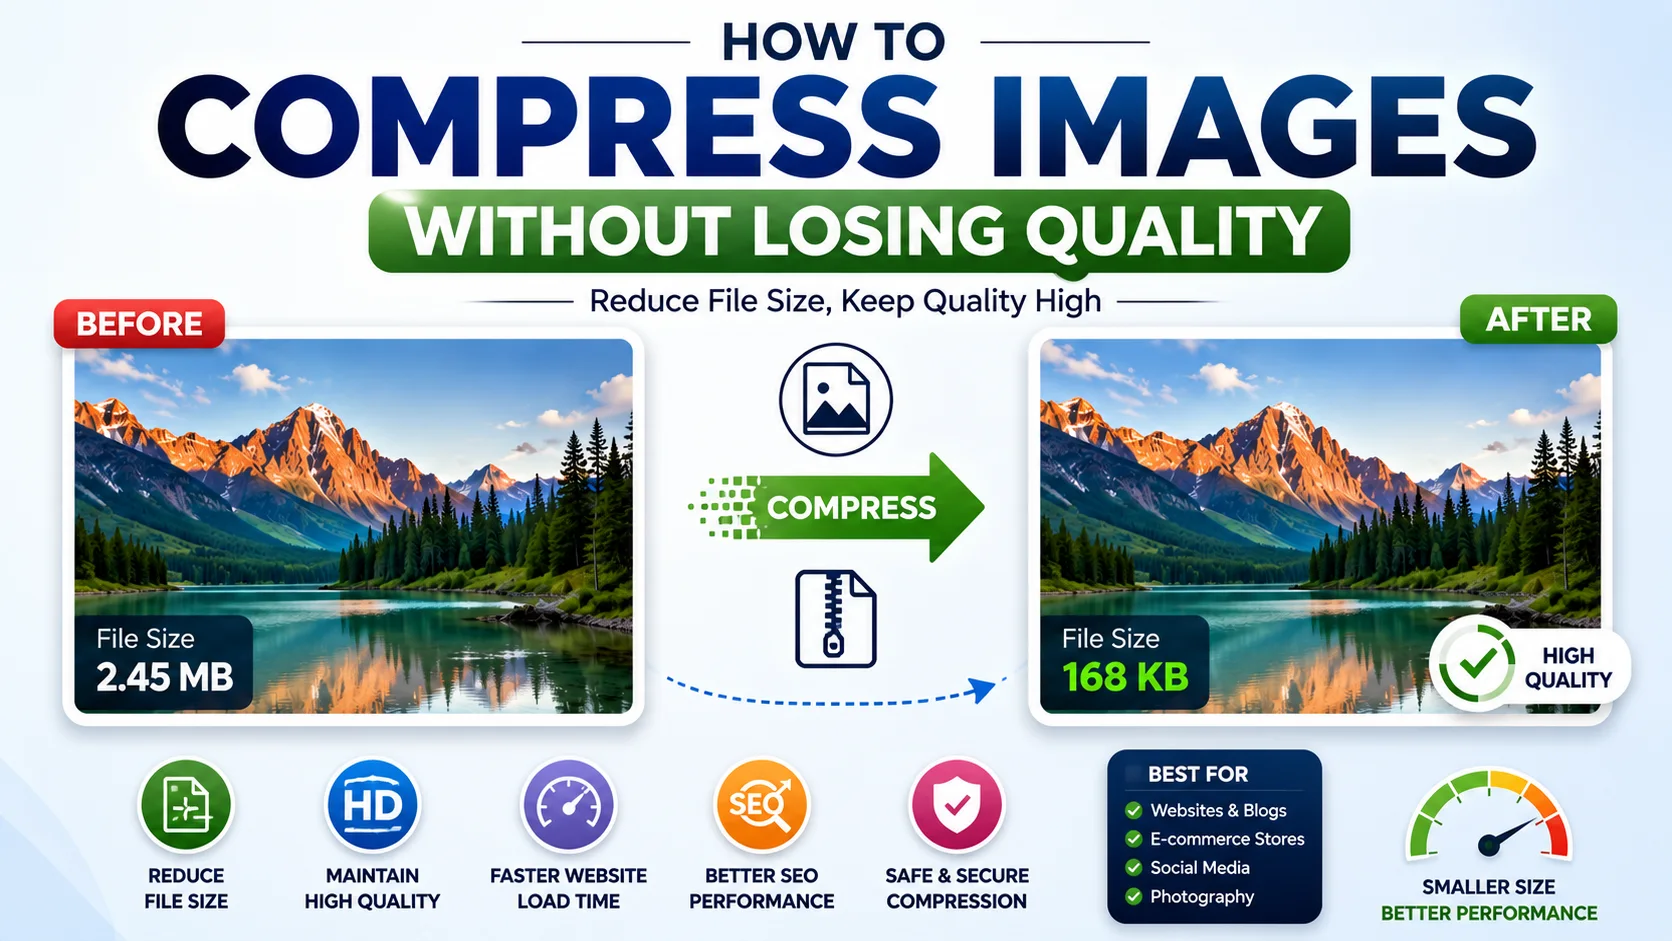
Compression uses advanced algorithms to remove unnecessary information while keeping the image visually similar.
For example:
Original:
- 4 MB
Compressed:
- 350 KB
The image may look almost identical, but its file size becomes much smaller.
Advantages of Image Resize
Faster Website Loading
Smaller dimensions require less bandwidth.
Better User Experience
Visitors don’t need to wait for large images to load.
Saves Storage
Resized images occupy less disk space.
Easier Sharing
Uploading resized images to WhatsApp, Facebook, Instagram, or email becomes much faster.
Advantages of Image Compression
Smaller File Size
Compression dramatically reduces image size.
Better SEO Performance
Google recommends optimized images because they improve Core Web Vitals.
Faster Uploads
Compressed images upload quickly on websites and social media.
Lower Bandwidth Usage
Useful for websites with heavy image traffic.
When Should You Resize an Image?
Image resizing is recommended when:
- Uploading images to a website.
- Creating blog featured images.
- Designing banners.
- Making YouTube thumbnails.
- Creating social media posts.
- Printing passport-size photos.
- Uploading profile pictures.
When Should You Compress an Image?
Compression is ideal when:
- Uploading files with size limits.
- Sending images via email.
- Optimizing WordPress websites.
- Improving website speed.
- Reducing hosting storage usage.
- Sharing images online.
Which Is Better for SEO?
For search engine optimization, the best practice is to use both resizing and compression.
Step 1
Resize the image to the required dimensions.
Step 2
Compress the resized image to reduce file size.
This combination helps:
- Improve Google PageSpeed Insights scores.
- Increase website performance.
- Enhance user experience.
- Boost search rankings.
Common Mistakes to Avoid
Uploading Original DSLR Images
Modern cameras produce very large images that should be resized before uploading.
Over-Compressing Images
Excessive compression can make images blurry.
Ignoring Image Dimensions
Using unnecessarily large dimensions wastes bandwidth.
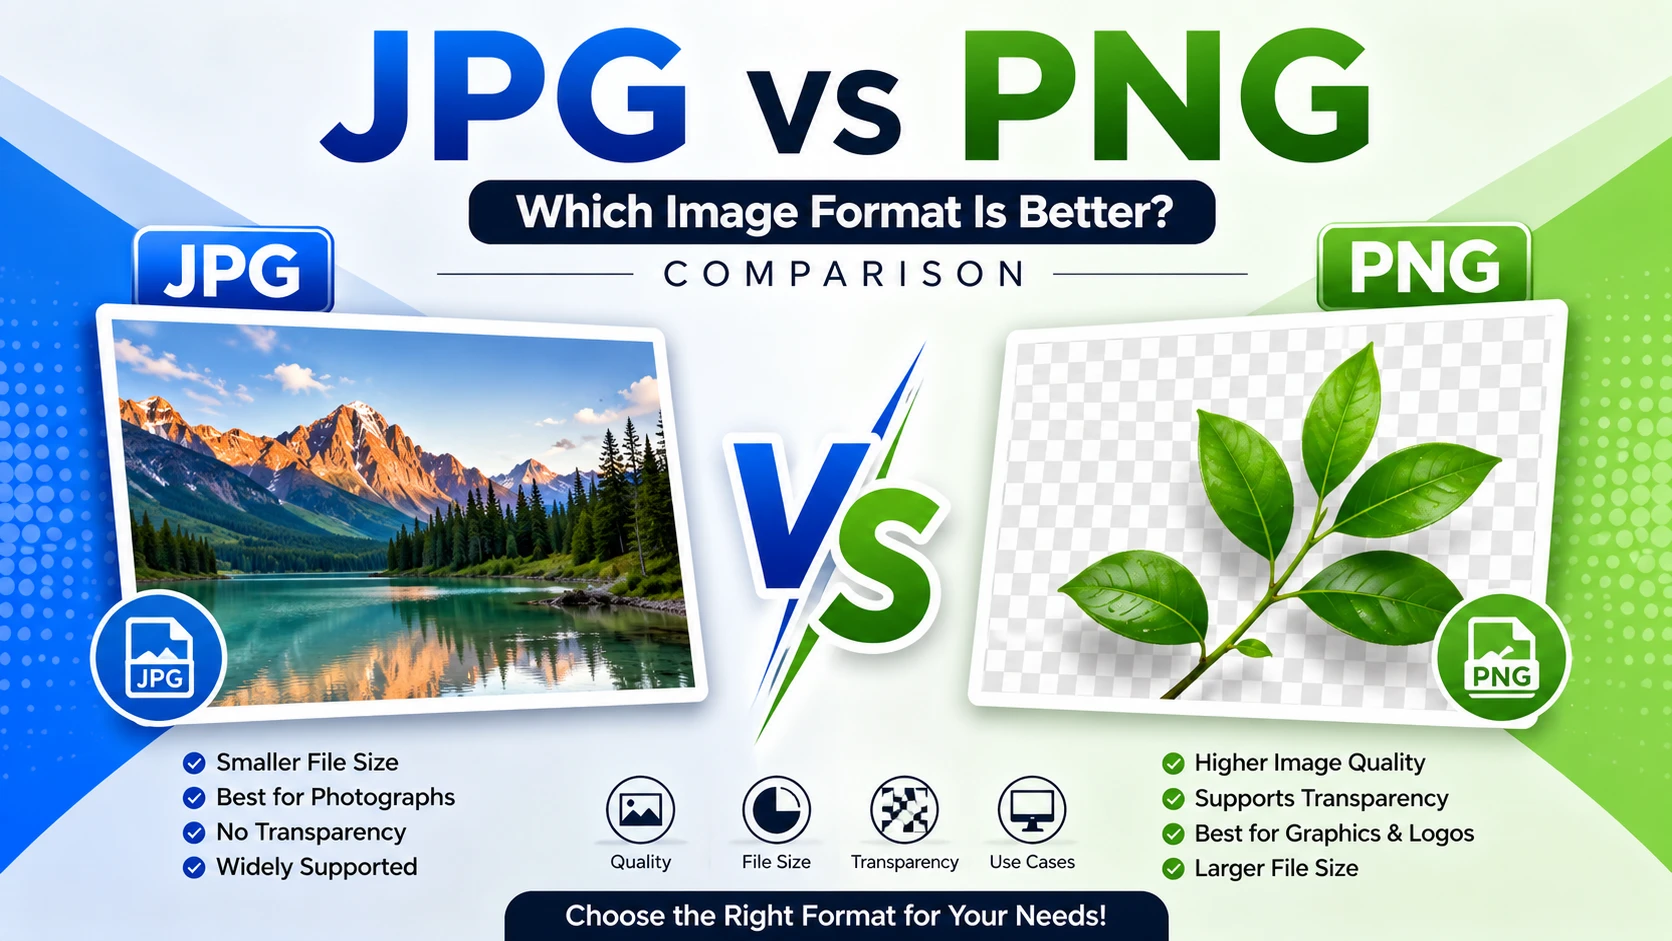
Choosing the Wrong Format
Use:
- JPEG for photographs
- PNG for transparent images
- WebP for modern websites
- AVIF for maximum compression
Best Image Formats
| Format | Best Use |
|---|---|
| JPG | Photos |
| PNG | Logos & Transparent Images |
| WebP | Websites |
| AVIF | High Compression |
| SVG | Icons & Graphics |
Image Resize vs Image Compress for Bloggers
Bloggers should always optimize images before publishing.
Recommended workflow:
- Resize images to around 1200 px width.
- Compress them to reduce file size below 200 KB when possible.
- Use descriptive filenames.
- Add SEO-friendly ALT text.
- Choose modern formats like WebP where supported.
This approach improves website speed and search engine performance.
Frequently Asked Questions (FAQs)
Is image resize the same as image compress?
No. Image resizing changes the dimensions, while image compression reduces the file size.
Does resizing reduce quality?
It can, especially if you resize an image to very small dimensions.
Does compression reduce quality?
Lossy compression may reduce quality slightly, while lossless compression preserves it.
Which is better for websites?
Using both resize and compression together provides the best balance between image quality and performance.
Which format is best for websites?
WebP is widely recommended because it offers excellent quality with smaller file sizes.
Final Verdict
Understanding Image Resize vs Image Compress is essential for anyone who works with digital images. Resizing adjusts the dimensions of an image, making it suitable for specific display sizes, while compression minimizes the file size for faster uploads and improved website performance.
For the best results, use both techniques together. Resize your image to the required dimensions first, then compress it to reduce the file size without significantly affecting visual quality. This improves loading speed, enhances user experience, and supports better SEO performance.
To learn more about image optimization best practices, you can refer to Google’s official documentation on image optimization: https://developers.google.com/search/docs/advanced/guidelines/image-publishing-guidelines.