How to Compress Images Without Losing Quality
If your website feels slow, your email attachments keep bouncing back, or your phone storage keeps filling up, learning How to Compress Images Without Losing Quality is one of the most useful skills you can pick up as a photographer, blogger, online seller, or everyday computer user. Large image files are one of the biggest hidden causes of slow websites, failed uploads, and wasted storage space, yet most people assume that shrinking a file size automatically means sacrificing sharpness and detail.
The good news is that is not true. With the right approach, you can reduce an image file to a fraction of its original size while keeping it looking crisp, clear, and professional. This guide walks through exactly how compression works, which methods actually preserve quality, and which common mistakes quietly ruin images without people realizing why.
Quick Answer: Can You Really Compress an Image Without Losing Quality?
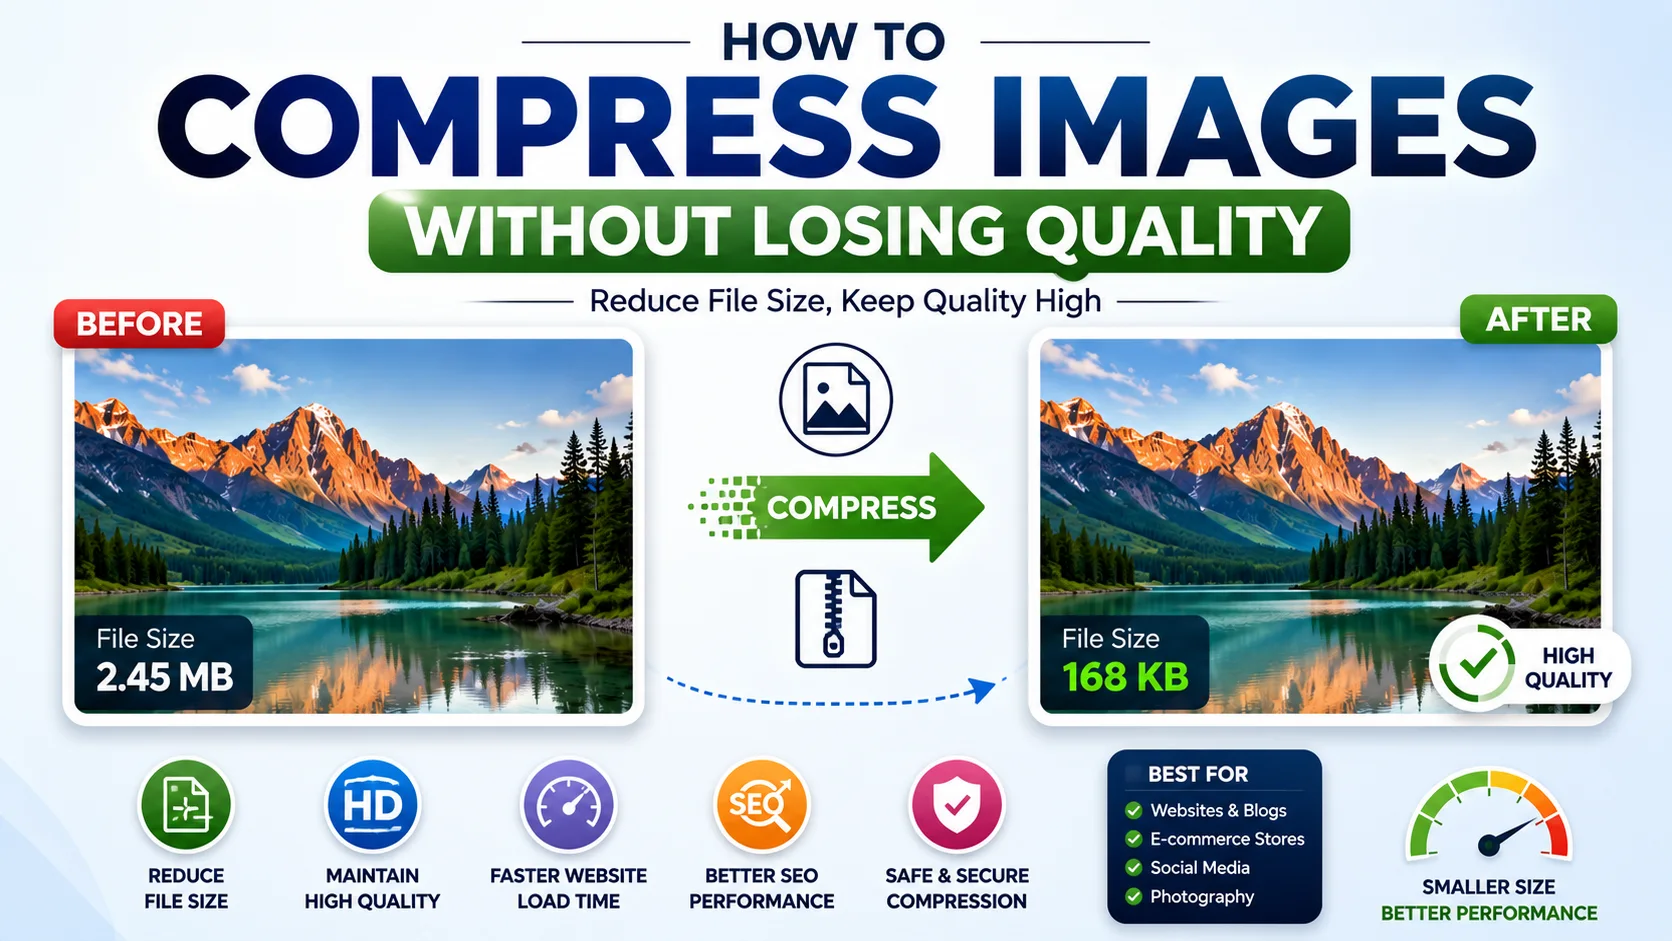
Yes, to a meaningful degree. There are two main types of compression: lossless, which shrinks file size without removing any image data, and lossy, which removes data the human eye is less likely to notice. Using lossless compression, or lossy compression at a high quality setting, allows you to significantly reduce file size while keeping the image looking virtually identical to the original.
The rest of this guide breaks down the tools, formats, and settings that make this possible.
What Does Image Compression Actually Mean?
Image compression is the process of reducing the amount of data used to store a digital image, which results in a smaller file size. Every photo is made up of thousands or millions of tiny colored squares called pixels, and compression works by finding smarter, more efficient ways to store that pixel information.
According to Google’s web.dev image optimization guide, image compression is one of the most effective ways to speed up a website, since images typically account for a large share of a page’s total size. Understanding the two main compression categories is the first step toward compressing images the right way.
Lossless Compression
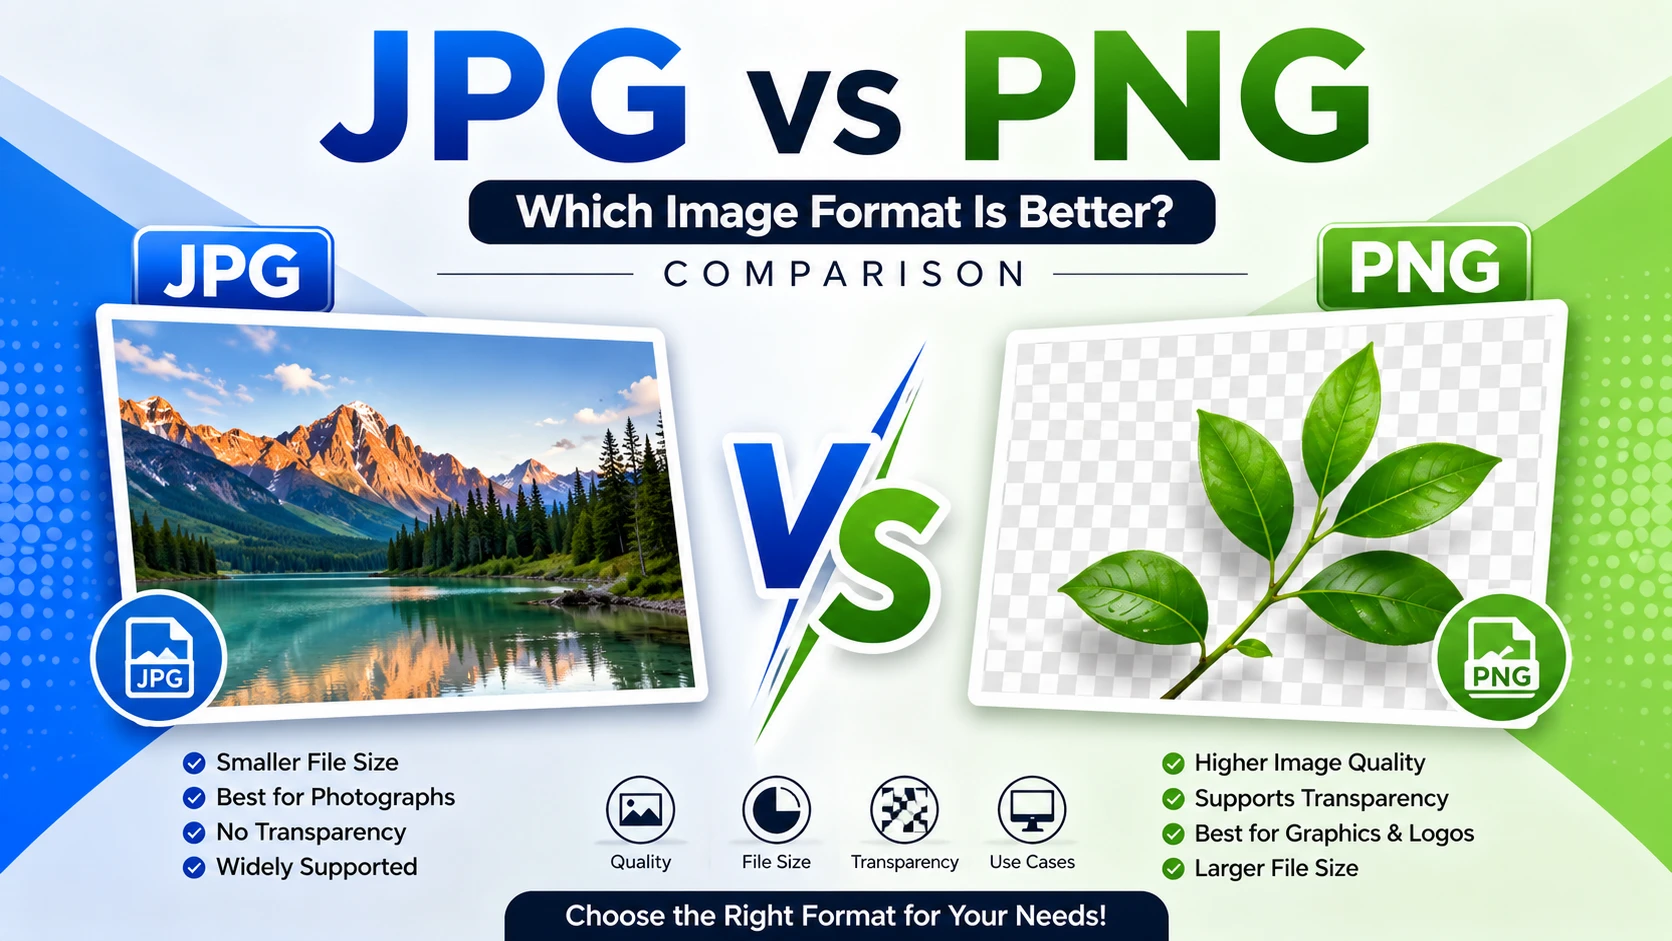
Lossless compression shrinks a file by identifying repeated patterns and storing them more efficiently, without throwing away any original pixel data. When the file is opened again, it looks exactly like the original. Formats like PNG use lossless compression, which is why they are often used for logos, screenshots, and graphics with text.
Lossy Compression
Lossy compression reduces file size by permanently removing some image data, usually details the human eye is unlikely to notice at normal viewing sizes. JPG is the most common lossy format, and it allows you to choose a quality level, meaning you can control exactly how much compression is applied and how much quality is preserved.
How to Compress Images Without Losing Quality: The Core Principles
Before jumping into specific tools, it helps to understand the handful of principles that make the difference between a compressed image that still looks great and one that looks blurry, blocky, or washed out.
1. Resize the Image to the Size You Actually Need
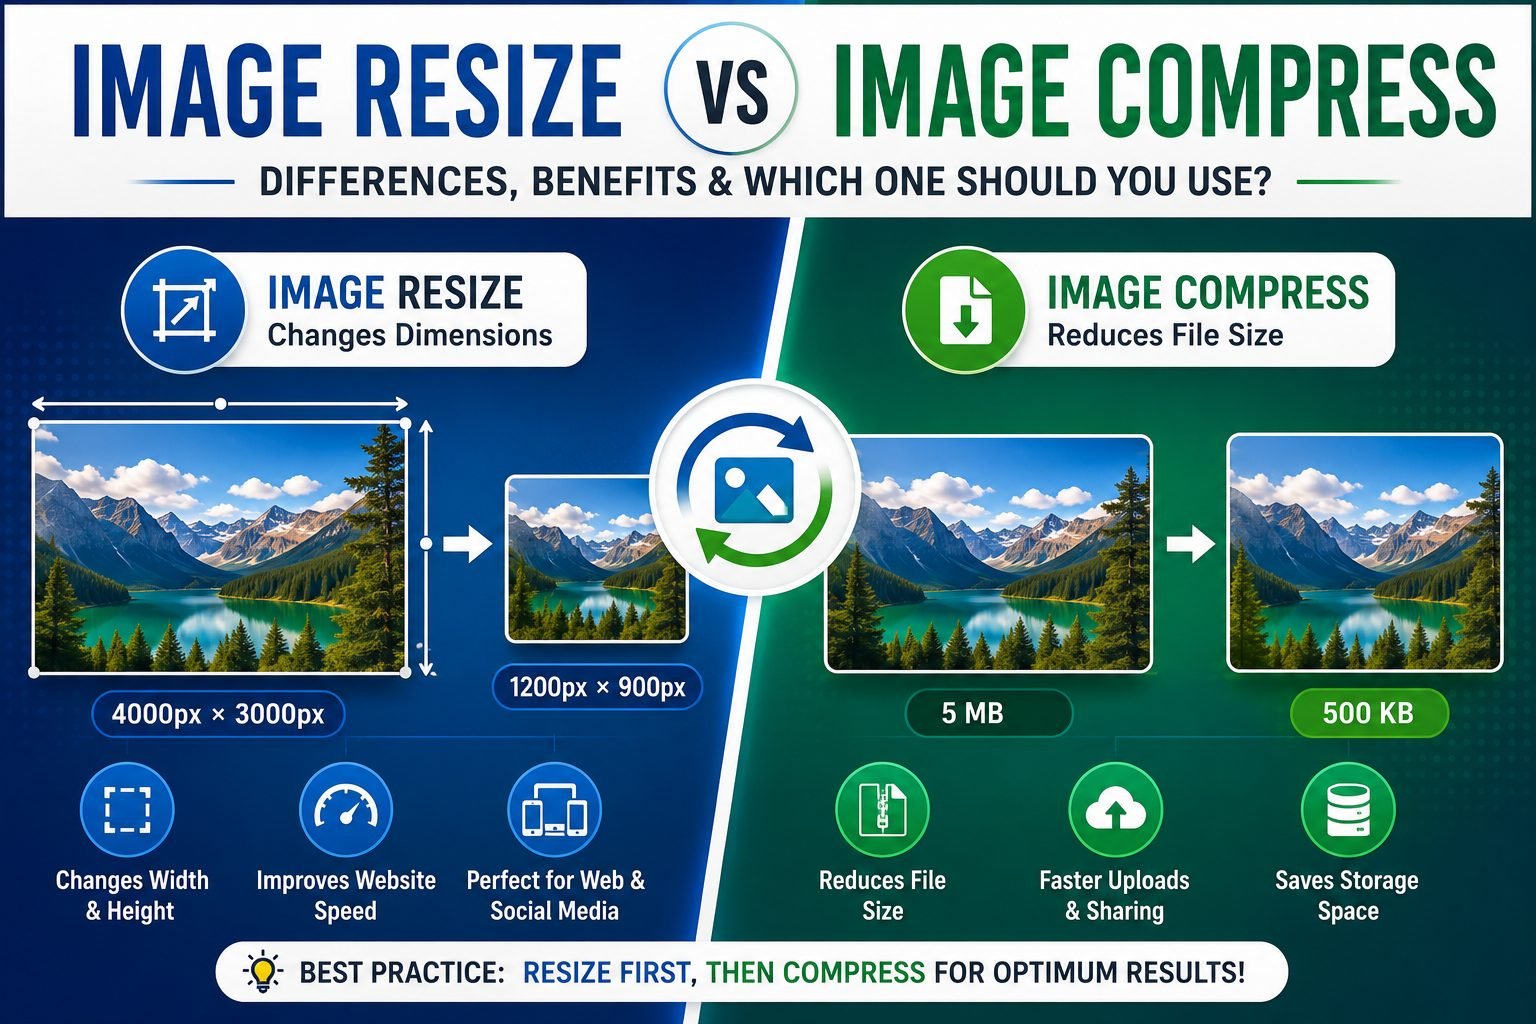
One of the simplest and most effective ways to reduce file size is to resize the image to match where it will actually be displayed. A photo taken on a modern smartphone can be over 4,000 pixels wide, but most websites only display images at 1,000 to 2,000 pixels wide. Shrinking the dimensions before compressing reduces file size dramatically without any visible quality loss, since you are removing pixel information that was never going to be visible anyway.
2. Choose the Right File Format for the Content
Photographs compress well as JPG because of their complex color gradients, while graphics with flat colors, text, or transparency compress better as PNG. Choosing the wrong format for the content type can make compression far less effective, since you may end up fighting the format’s natural strengths and weaknesses.
3. Use a High Quality Setting Rather Than Maximum Compression
Most compression tools let you choose a quality percentage, typically from 0 to 100. Dropping quality all the way down produces the smallest file size but introduces visible blocky artifacts and blurring. Keeping the quality setting between 70 and 85 percent usually produces a file that looks nearly identical to the original while cutting the file size significantly, according to testing published in Cloudinary’s image optimization documentation.
4. Avoid Repeated Saving of Lossy Files
Every time a JPG file is opened, edited, and saved again, a small amount of additional quality is lost. This is known as generational loss. To avoid this, keep a master copy of your image in a lossless format like PNG or in your camera’s original RAW format, and only export a compressed JPG version once your editing is complete.
5. Use Modern Image Formats When Possible
Newer formats like WebP and AVIF were specifically designed to produce smaller file sizes than JPG and PNG while maintaining comparable or even better quality. Many modern browsers now support these formats, and the Mozilla Developer Network’s guide to image formats confirms that WebP alone can reduce file sizes by 25 to 35 percent compared to JPG at a similar quality level.
How to Compress Images Without Losing Quality on a Website
Website owners have a particularly strong incentive to master image compression, since page loading speed directly affects both visitor experience and search engine rankings. Here is a practical, step-by-step approach for compressing images specifically for web use.
- Resize first. Scale the image down to the maximum width it will actually be displayed at on your site, rather than uploading the original camera resolution.
- Pick the right format. Use JPG for photographs, PNG for graphics with transparency or text, and consider WebP if your website platform supports it.
- Compress with a quality setting around 75 to 85 percent. This range consistently produces a good balance between visual quality and file size.
- Strip unnecessary metadata. Photos often carry hidden metadata, such as camera settings and location data, that adds to file size without affecting how the image looks. Removing this data through a compression tool can shave off additional kilobytes.
- Use lazy loading. While not a compression technique itself, loading images only as visitors scroll down the page reduces how much data needs to load immediately, which improves perceived speed alongside your compression efforts.
Best Tools for Compressing Images Without Losing Quality
There are several reliable ways to compress images, ranging from free online tools to professional software.
Online Compression Tools
Free browser-based tools allow you to upload an image and instantly receive a compressed version without installing any software. These tools typically use smart lossy or lossless algorithms designed to preserve as much visible quality as possible while reducing file size. They are convenient for one-off tasks, such as compressing a single blog image or a batch of product photos.
Photo Editing Software
Programs like Adobe Photoshop and the free, open-source GIMP allow for precise control over compression quality when exporting images. Photoshop’s “Save for Web” and “Export As” features, for example, show a live preview comparing file size and visual quality side by side, making it easy to find the sweet spot where the file is as small as possible without visible degradation.
Command-Line and Automated Tools
Developers and website owners managing large numbers of images often use automated tools that compress images in bulk as part of a website build process. This approach ensures every image uploaded to a site is automatically optimized without requiring manual work for each file.
Built-In Operating System Tools
Both Windows and macOS include basic options for resizing and adjusting image quality when saving or exporting a file, which can be sufficient for casual users who do not need advanced control.
How to Compress Images Without Losing Quality for Photography
Photographers face a slightly different challenge, since image quality is often central to their work. The recommended workflow is to always shoot and edit using a high-quality or RAW format, then export a final compressed JPG only once editing is finished. This preserves maximum flexibility during editing while still producing a manageable file size for client delivery, online galleries, or social media sharing.
When exporting for print, a higher quality setting, sometimes even 90 percent or higher, is recommended since printed materials can reveal compression artifacts that might not be visible on a screen. For web galleries, a slightly lower quality setting, such as 75 to 80 percent, is usually sufficient since screen resolution and typical viewing distance hide minor compression effects.
How to Compress Images Without Losing Quality for Email and File Sharing
Sending large image files by email often results in bounced messages or frustratingly slow uploads. Before attaching photos to an email, resizing them to a reasonable resolution, such as 1,500 pixels on the longest side, combined with moderate JPG compression, usually reduces file size enough to avoid these issues while keeping the images perfectly viewable on a screen.
For cloud storage and file-sharing services, similar principles apply. Compressing a large batch of vacation photos or work documents before uploading saves storage space and speeds up both uploading and downloading for anyone you share the files with.
Common Mistakes That Cause Quality Loss During Compression
Understanding what not to do is just as important as knowing the right techniques.
- Over-compressing in a single pass. Dropping quality too low in an attempt to save the maximum amount of space introduces visible blockiness, especially around sharp edges and fine detail.
- Repeatedly resaving the same JPG file. Each save introduces a small amount of additional quality loss, which adds up significantly after several rounds of editing.
- Using the wrong format for the content. Compressing a graphic with sharp text or transparency as a JPG often introduces blurriness around the text and eliminates transparency entirely.
- Skipping the resize step. Compressing an image at its full original resolution, rather than resizing it to the size it will actually be displayed at, wastes potential file size savings.
- Ignoring metadata. Leaving embedded metadata in place adds unnecessary file size without any visible benefit.
Avoiding these mistakes is often more impactful than finding a single “best” compression tool, since the underlying technique matters more than the specific software used.
How Much Can You Really Compress an Image Without Losing Quality?
The exact amount varies depending on the original image and the format used, but as a general guideline:
- Photographs saved as JPG at 75 to 85 percent quality typically shrink to 20 to 40 percent of their original size with no noticeable quality loss on a screen.
- Graphics and screenshots saved as optimized PNG files can often shrink by 30 to 60 percent through lossless compression alone, without any visible change.
- Converting to modern formats like WebP can provide an additional 25 to 35 percent reduction compared to JPG at a similar quality level, based on findings from Google’s Lighthouse performance documentation.
These numbers make it clear that meaningful file size reduction and strong visual quality are not mutually exclusive goals.
How to Compress Images Without Losing Quality: Frequently Asked Questions
Does compressing an image always reduce its quality? Lossless compression does not reduce quality at all, since no image data is removed. Lossy compression can technically remove some data, but at high quality settings, the difference is typically invisible to the human eye.
What is the best image format for compression without losing quality? For photographs, JPG at a high quality setting offers the best balance. For graphics with transparency or text, PNG preserves quality perfectly through lossless compression. WebP is a strong modern option that often outperforms both for web use.
Is there a quality setting I should always use? A quality setting between 75 and 85 percent is a reliable starting point for most photographic images, offering a strong balance between file size and visual quality.
Can I restore quality after compressing an image too much? No. Once data is removed through lossy compression, it cannot be recovered. This is why it is important to always keep an uncompressed or lossless master copy of important images before exporting a compressed version.
Do compression tools remove personal information from photos? Many compression tools strip metadata, including camera details and location data, as part of the compression process, which can be a helpful privacy benefit in addition to the file size reduction.
Final Thoughts on How to Compress Images Without Losing Quality
Learning how to compress images without losing quality comes down to a few consistent habits: resizing images to the dimensions you actually need, choosing the right format for the type of content, using a sensible quality setting rather than the maximum possible compression, and keeping an unedited master copy for anything you may need to revisit later. Whether you are speeding up a website, managing storage space, or preparing photos for a client, these principles apply consistently across nearly every situation.
Once you build these habits into your regular workflow, you will find that smaller, faster-loading images and sharp, professional-looking visuals are not competing goals at all. With the right technique, you really can have both.